Get rowing! It’s an incredible exercise but, in my opinion, hugely underappreciated. Whenever I’m in the gym, if there’s ever anyone actually using the rowing machine (or the erg) it’s usually one of three types of people: 1) older gentlemen who know how to use it (you can tell by the sound as well as the body movement), were rowers in the past, and/or understand its low-impact benefits; 2) folks who use it pretty decently for a warm-up or gentle cool-down; and 3) folks who use it as a workout but clearly have no idea how to use it. The latter is by far the majority group.
Yes, truly, most people have no idea how to use the erg properly or to their best advantage. It seems like it would be a no-brainer, but there’s actually quite a bit of technique to it. But first, let’s talk about why we should even care about it in the first place.
Why the Rowing Erg is Powerful
• It works the entire body
• It provides low-impact exercise and varied resistance levels
• It’s a phenomenal warm-up tool that will fully prime you for the workout ahead
• It’s versatile as heck — use it for recovery cardio, for HIIT, for interval training, whatever. Basically, whatever’s trending, the erg can deliver.
• It’s a great workout finisher. Use it to cool down, or use it to boost your workout and THEN cool down.
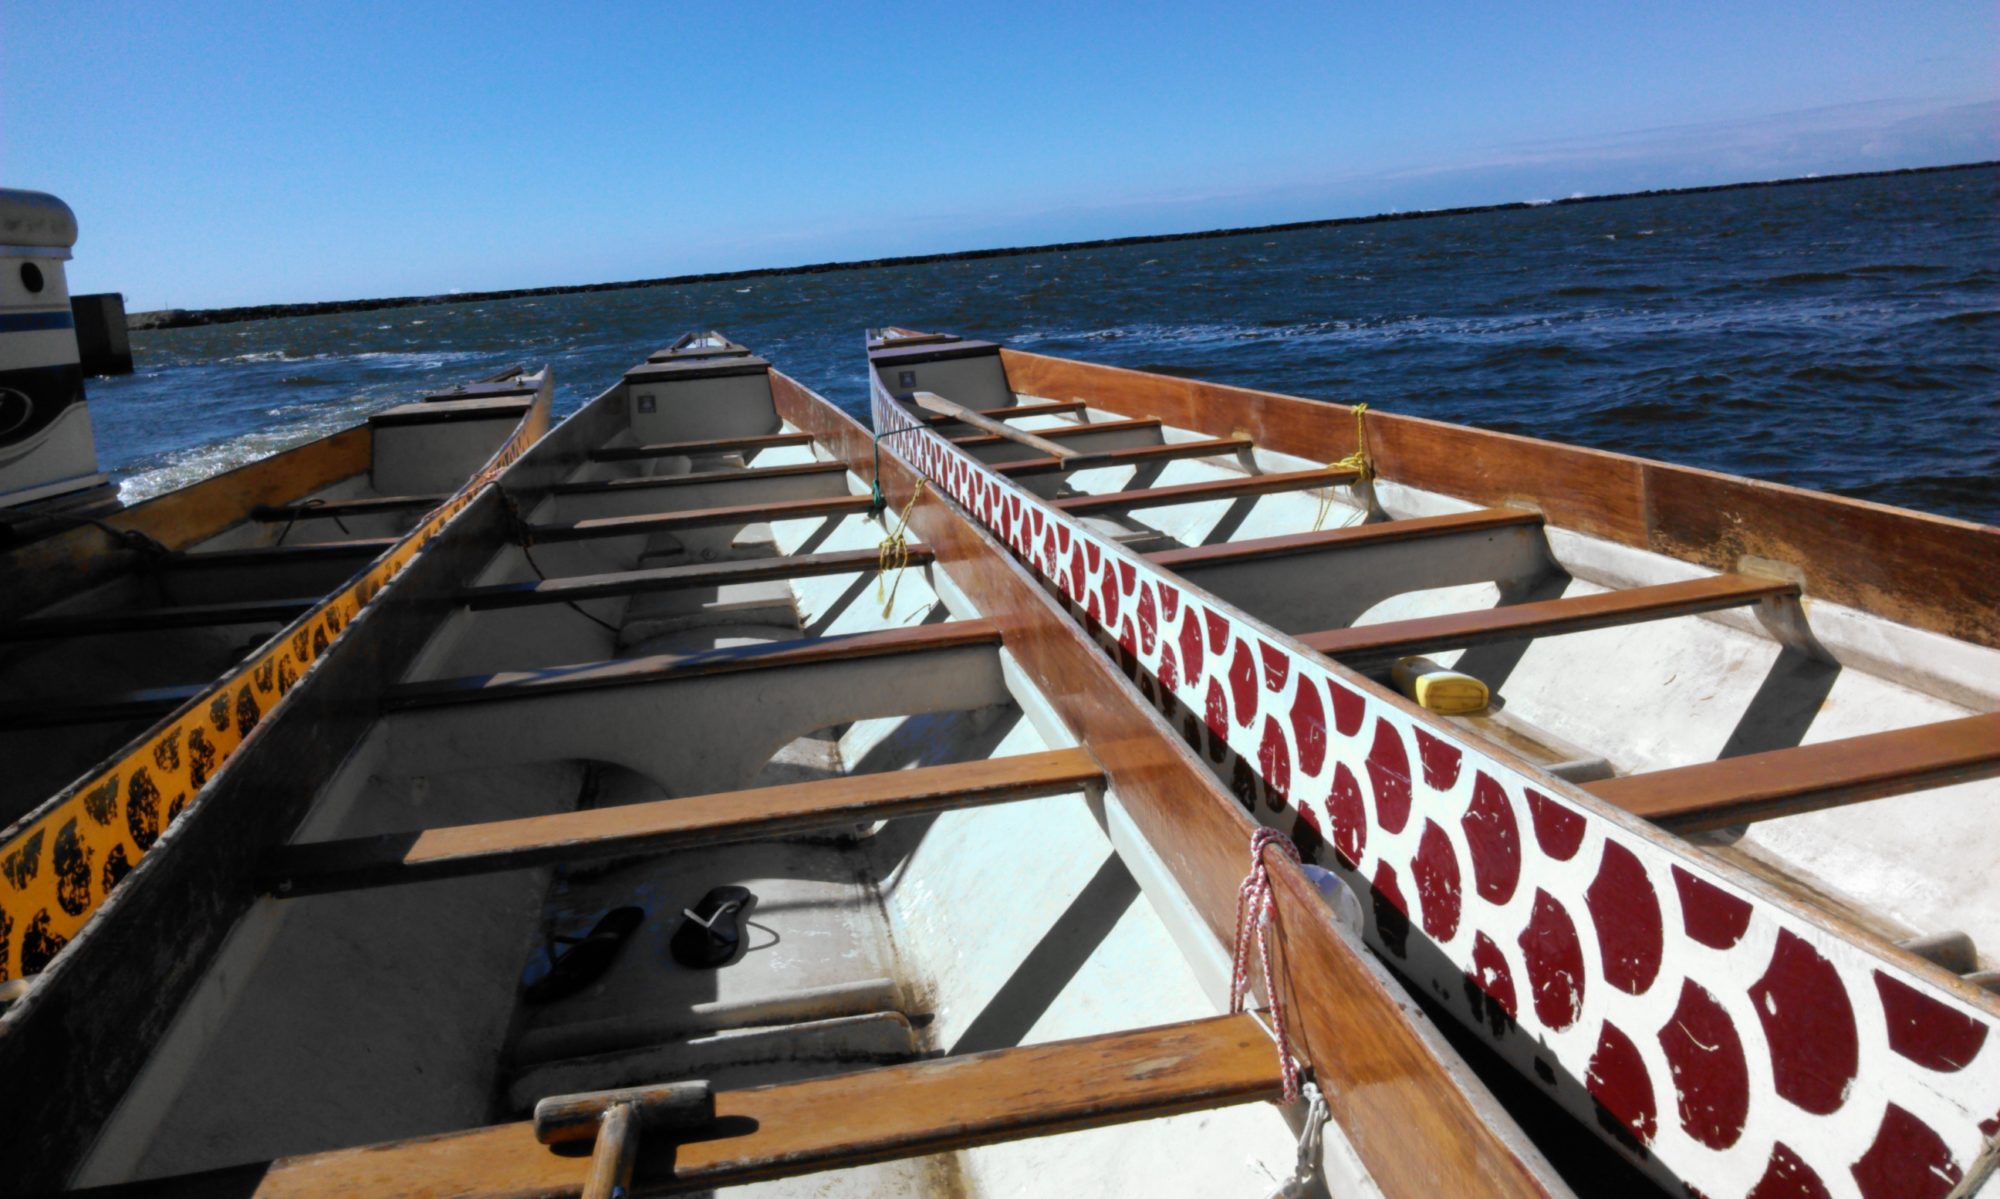
Whatever your sport (and mine happen to be dragon boat and outrigger canoe racing) the erg can be a powerful cross-training tool. Any exercise, if done ad nauseum, will result in imbalance, overuse, possibly injury, and most definitely boredom.
How to Harness the Rowing Erg’s Power
Personally, I’m partial to the Concept2 line of rowers, but there are a number of others that perform comparably. Whatever machine you use though, proper technique is essential. I highly recommend watching Concept2’s technique videos to learn proper form, as well as their tips on common errors to avoid.
In a nutshell, there are 4 elements to the stroke: Catch, Drive, Finish, and Recovery.
Catch
Sit tall with level shoulders (no hunching), arms straight and shoulders relaxed and neutral. Lean your body forward (hinge at the hips) and keep shoulders in front of hips. You’ll be close to the flywheel—your shins should be at or close to vertical, and your heels slightly lifted.
Drive
Engage your core, press into the balls of your feet, and push back with your legs. Rise up with your torso (chest up) and then add the arm pull last. Your shoulders should stay relaxed (not shrugged up to your ears) and your hands aligned with the flywheel (no up and down movement).
Finish
Lean your upper body back slightly: your legs should be extended and your core still fully engaged. Arms straight, wrists solid and flat (rather than bent up or down) and the erg handle just below your chest. Squeeze your shoulder blades together to prevent rounding and hunching your back and give a last little tug at the end. And be careful not to grip the handle too hard—your grip should be relaxed.
Recovery
At this point your arms will be bent and your elbows behind you. Keep squeezing your shoulder blades together, and straighten your arms. Then bend forward toward the flywheel (keeping arms and legs extended/straight). Finally, when your hands have cleared your knees, bend your legs and glide forward toward the flywheel. Why this arms-back-knees sequence? You want to maintain a straight line with your arms and hands, rather than bobbing them up and over your knees. That’s what most people do, and it’s inefficient as heck.
Now you’ll be back at the catch position, ready to take the next stroke. Keep your core engaged, your shoulders relaxed, your chest up and open, breathe deeply, and exhale on the push.
Have fun with it! And seriously, watch the videos!

